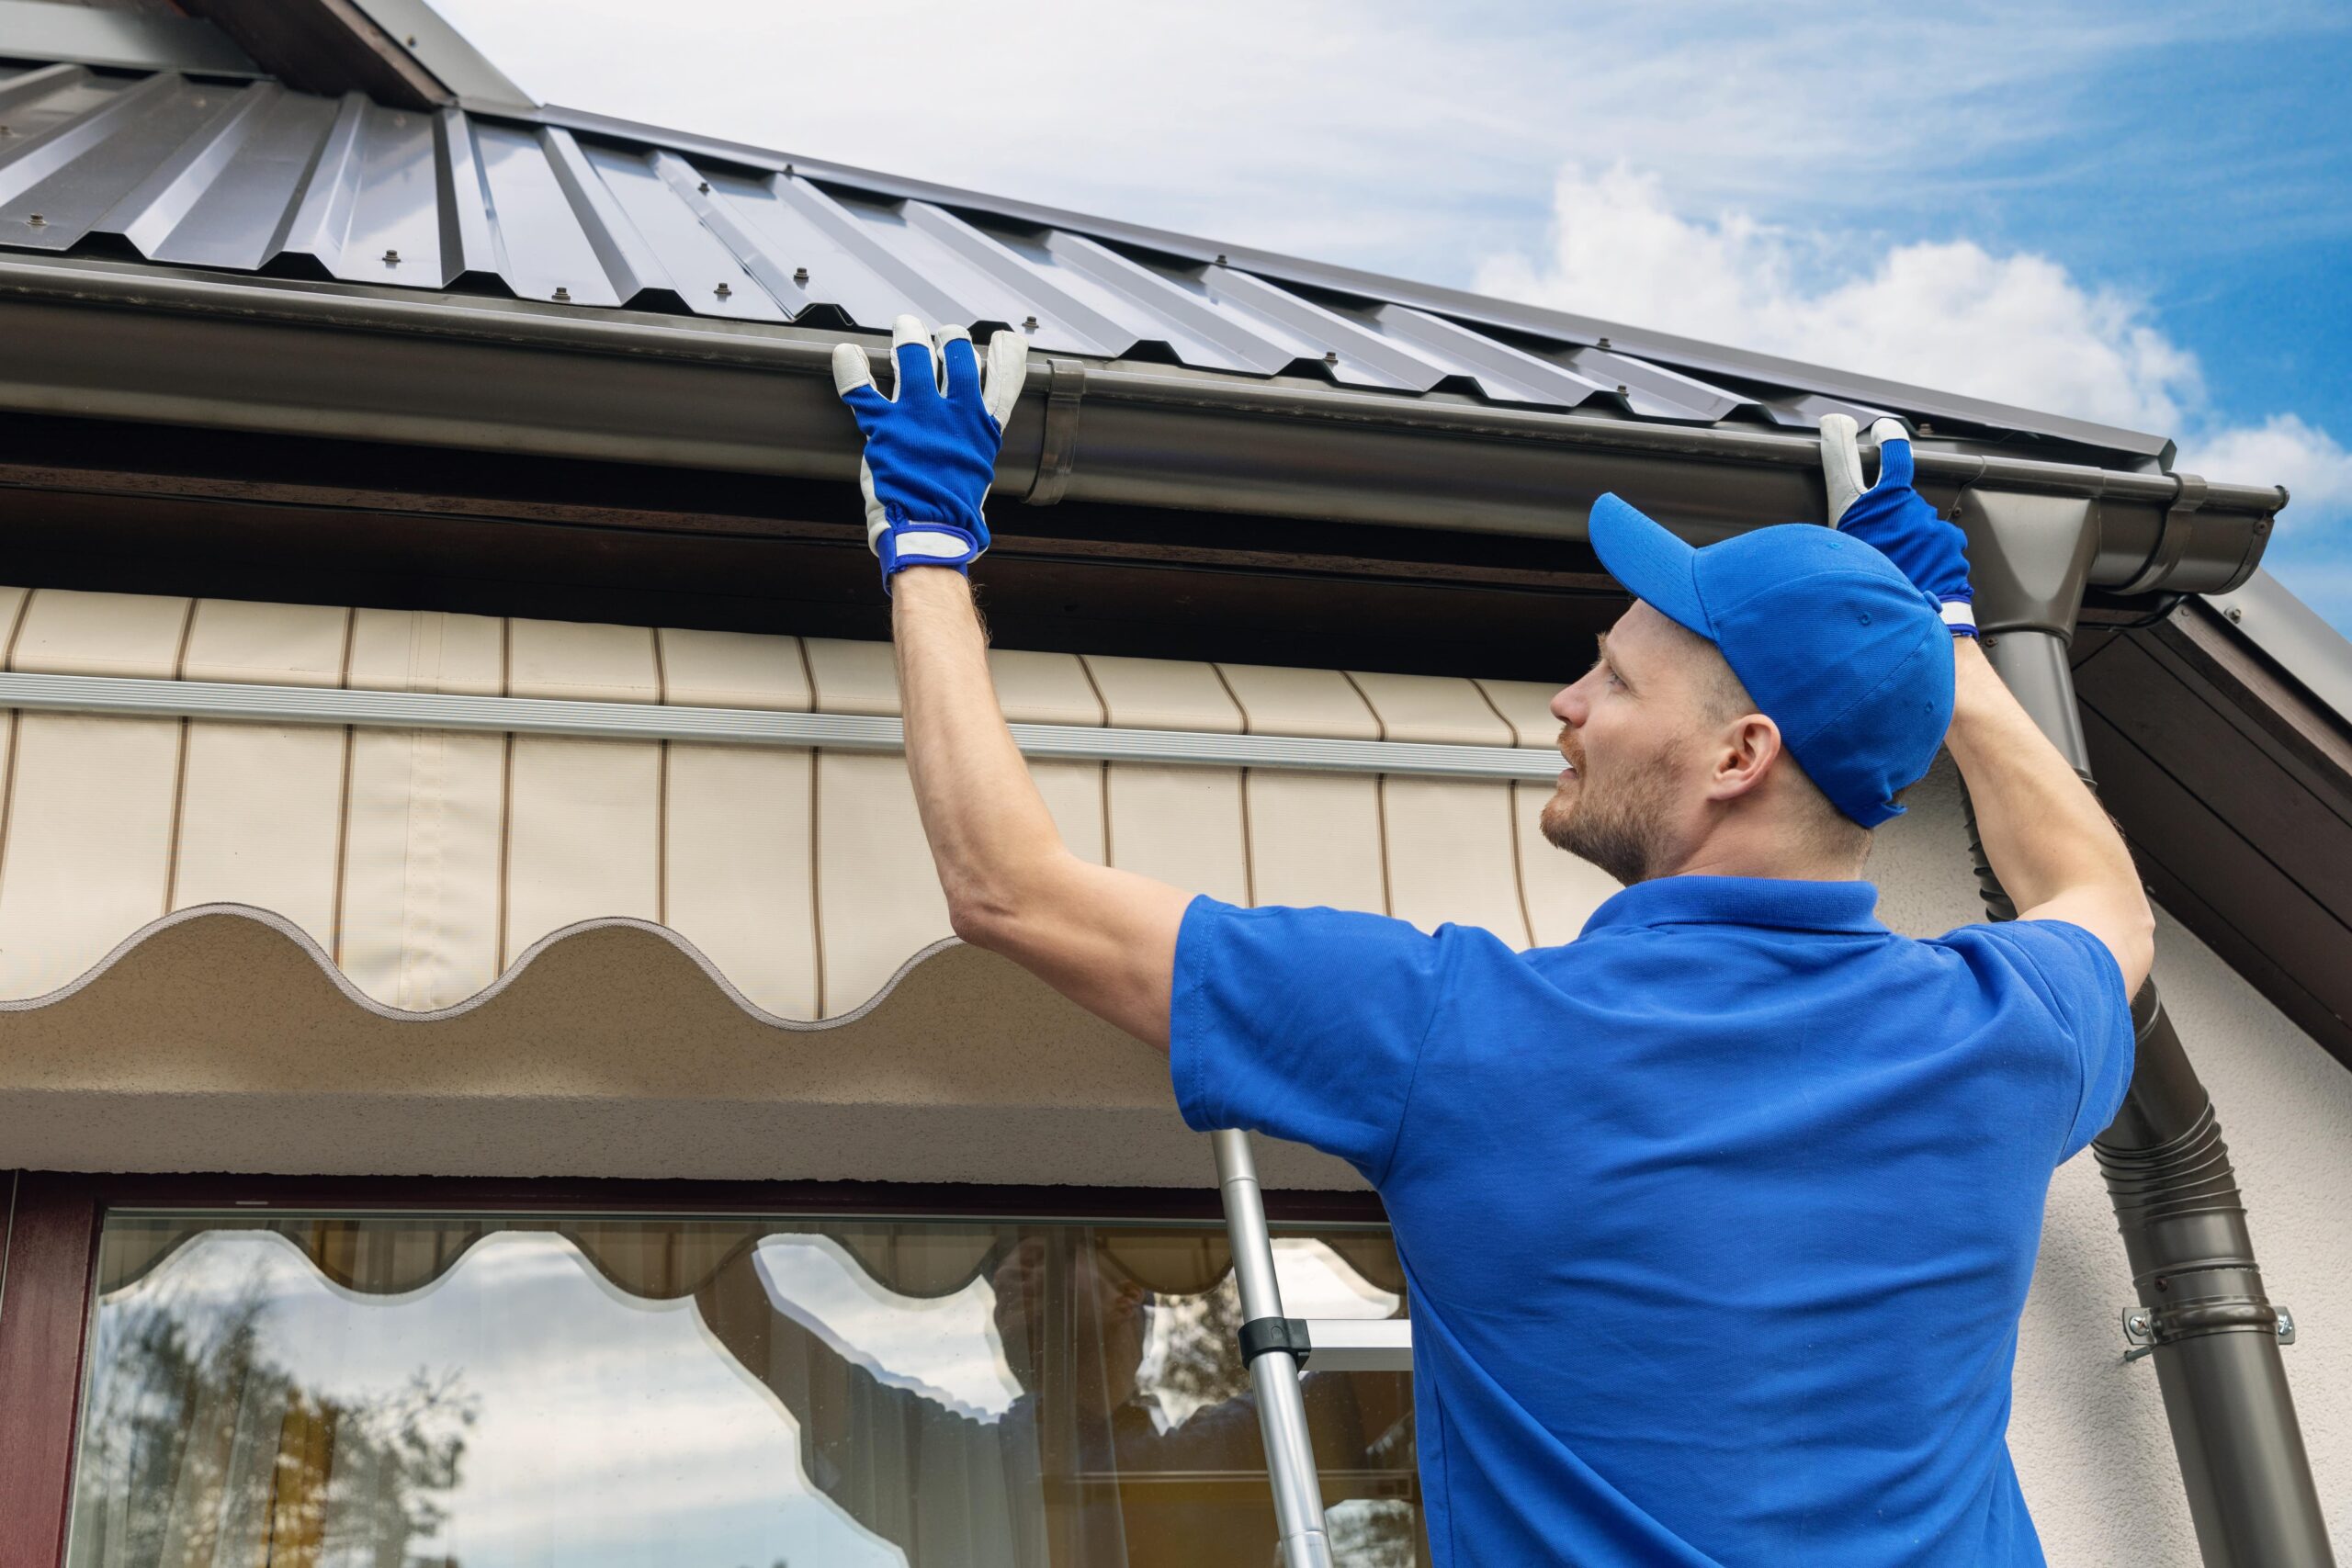
If you’re wondering what a drip edge is in roofing, look no further.
This article will provide you with all the information you need to know about this essential component. You’ll learn about the purpose of a drip edge, the different materials used, and the benefits of installing one on your roof.
Plus, our certified roofing specialists guide you through the step-by-step process of how to install a drip edge yourself. Get ready to enhance the protection and longevity of your roof with a drip edge.
The Purpose of a Drip Edge
To understand the purpose of a drip edge, you need to know how it helps protect your roof from water damage.
A drip edge is a small piece of metal installed along the edges of your roof. Its primary function is to direct water away from the roof and into the gutters, preventing it from seeping into the underlying structures.
Regular maintenance of drip edges is vital to ensure their effectiveness.
Inspecting and repairing any damaged or missing sections of the drip edge will help maintain its proper function and prolong the lifespan of your roof.
Types of Drip Edge Materials
One of the critical considerations when selecting a drip edge for your roof is the choice of materials. The type of material you choose will impact the longevity and effectiveness of your drip edge system. Here are some common types of drip edge materials to consider:
– Aluminum: This is the most common material used for drip edges due to its durability and affordability. It is resistant to corrosion and can withstand harsh weather conditions.
– Vinyl: Vinyl drip edges are lightweight and easy to install. They are also resistant to rust and corrosion. However, they may not be as durable as other materials.
– Galvanized Steel: This material is known for its strength and durability. It can withstand extreme weather conditions and is resistant to rust and corrosion.
– Copper: Copper drip edges are highly durable and look sleek and attractive. However, they can be more expensive compared to other materials.
When installing drip edge materials, it is crucial to avoid common mistakes such as improper placement or improper fastening. It is also essential to compare the cost-effectiveness of different materials, considering factors such as durability and longevity.
Benefits of Installing a Drip Edge
Installing a drip edge on your roof offers several advantages that are of utmost importance in protecting your home and ensuring the longevity of your roofing system. One of the key benefits is preventing water damage.
The drip edge acts as a barrier, directing water away from the fascia and preventing it from seeping into the roof deck or walls. Keeping water away helps prevent rot, mold, and decay.
Another advantage is that it helps maintain your roof’s structural integrity. The drip edge provides additional support to the shingles, preventing them from sagging or curling.
It also helps prevent pests such as insects and rodents from entering your home through the gaps between the roof and fascia.
Overall, installing a drip edge is essential for protecting your home and ensuring the longevity of your roofing system.
How to Install a Drip Edge on Your Roof
Now, let’s dive into installing a drip edge on your roof to ensure its proper functionality and protection.
Here is a step-by-step guide to adequately aligning and securing a drip edge on your roof:
– Start by measuring the length of your roof’s eaves and cut the drip edge accordingly.
– Align the drip edge with the edge of your roof, ensuring that it overhangs the eaves by at least 1 inch.
– Secure the drip edge using roofing nails, placing them every 12 inches along the top edge and every 18 inches along the bottom edge.
– Use a hammer to gently tap the nails into place, ensuring they are flush with the drip edge.
Common mistakes to avoid when installing a drip edge:
– Ensure your safety during installation by wearing protective goggles and gloves.
– Steer clear of cutting the drip edge excessively short, as this can expose your roof to potential water damage.
– To prevent the drip edge from loosening during strong winds, make sure it is correctly aligned and securely fastened in place.
– Double-check that the bottom edge of the drip edge is aligned with the bottom edge of the roof to ensure proper water drainage.
Learn more roofing fundamentals:

2 Comments
What Is Flashing in Roofing? - Premier Home Solutions
November 11, 2023[…] flashing materials include a chimney, drip edge, and skylight flashing. While flashing is crucial for maintaining a watertight roof, it can also […]
What Is Roofing Square? - Premier Home Solutions
November 11, 2023[…] What is Drip Edge? […]